

how to fix scratches on wood table
Decorating a home takes a lot of work and seemingly endless pieces of furniture and decor. The cost can quickly add up, which is why it's sometimes useful (and fun!) to use your DIY skills to adorn your home. Not only does this help you save some green, but it can also give your home more character—not to mention it's rewarding to know that you made your own furniture from scratch!
If you're going for a more rustic look in your home, a reclaimed wood table could be just the DIY project you're looking for. You may be thinking that a table is quite the undertaking, but this easy instructional serves to show you it's an easy project that will yield some seriously impressive results. Follow the tutorial below to make your own in no time at all!
Image above from Home Adore.
Choose Your Wood and Gather Your Materials
The first thing you'll need to do is decide which type of wood is best for your project. Pine is a great choice for a classic rustic look, but it's soft, so it may be more susceptible to dents and scratches over time. For a piece of furniture that will see a lot of traffic, this is something to think about. More durable alternatives include maple and oak.
Once you've decided on your reclaimed wood of choice, gather your materials. We based this tutorial off of a project that creates a small dining table or desk, so you can adjust the wood sizes as needed depending on what kind of table you're looking to make.
Keep in mind that you should always take safety precautions when working with wood and power tools. Use safety goggles, work gloves, and a dust mask to protect yourself throughout the entirety of a project.
Prep the Wood
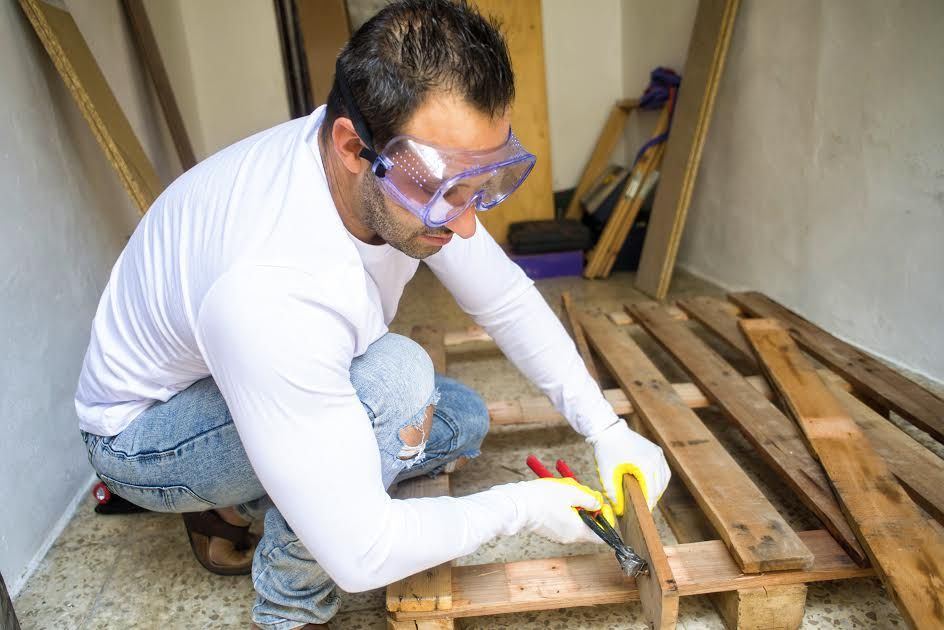
Reclaimed wood typically isn't DIY-ready when you bring it home. You'll want to clean it and totally prepare it for your project. As a side note, you also want to ensure that you're using safe and quality wood for your project. Validate that it's strong enough to actually function as a table, test it for lead, and verify that it's not housing any crawling critters that you wouldn't want taking residence in your home.
You'll also want to go over each piece of wood with a hammer and pair of vice grips, removing nails or any other objects present on the wood that you don't want there. Then, use your sander to remove any debris from the surface of the wood and even it out. A rough and abrasive sander works best for this task. Using either a circular or table saw, ensure that all of the corners of the wood are at a 90-degree angle. At this point, if it's necessary, cut your wood to the desired sizes.
Join the Pieces Together
Now onto the nitty-gritty of the project and perhaps the most important part! Using your screwdriver and the coordinating wood screws (as well as wood glue where needed), screw the pieces together. Use your level to ensure that they line up perfectly, and use as many screws as necessary to provide security in the table. This part is probably the most intimidating, but it's actually pretty easy once you line the pieces up just right.
Attach the Legs
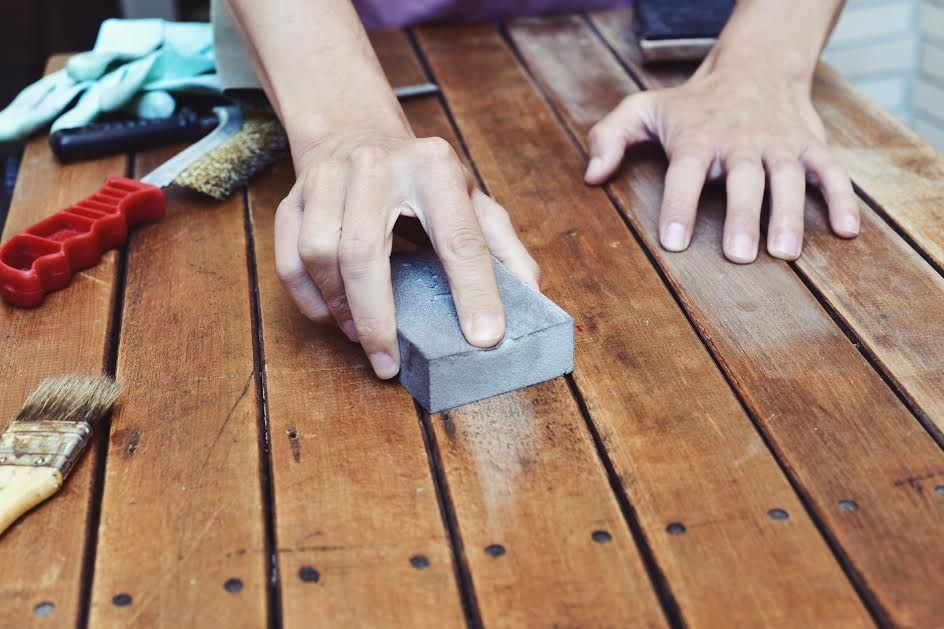
Every table needs sturdy legs, and we recommend buying some at a store like Ikea for this project. You can find them there (or somewhere else) for a great price, and you can choose whichever you think will look best with your table. Contrasting metal and wood creates a cool look, so that's something to keep in mind. Prior to attaching the legs with nails and/or screws, you'll want to completely sand down the table again as needed so it's smooth and splinter-free. Attach the legs to the bottom and ensure they're secure.
Apply a Finish
If you so desire, apply a finish to your table. Depending on the kind of wood you use, you may also need to apply a sealer to protect the table going forward. Let the table dry completely and it'll be ready for use. We guarantee you'll be proud of your hard work every time you use this piece of furniture!
how to fix scratches on wood table
Source: https://www.doityourself.com/stry/how-to-make-a-reclaimed-wood-table
Posted by: johnsonrigh1962.blogspot.com
0 Response to "how to fix scratches on wood table"
Post a Comment